Maintaining the accuracy of your electronic balance is crucial for reliable results in any scientific or industrial setting. Regular calibration is essential not only for precise measurements but also for regulatory compliance. This guide provides a step-by-step process to ensure your balance delivers consistently accurate readings. For more information on electronic balances, see this helpful resource: Electronic Balance Guide.
Getting Started: Preparing for Calibration
Before beginning the calibration process, it's vital to ensure a stable and clean working environment. A perfectly level surface, free from vibrations and drafts, is paramount. Why? Even minor disturbances can significantly impact the accuracy of your measurements. Gather the necessary materials:
- A set of calibrated weights appropriate for your balance's capacity and readability. (Ensure the weights' calibration certificate is readily accessible.)
- Your electronic balance's instruction manual.
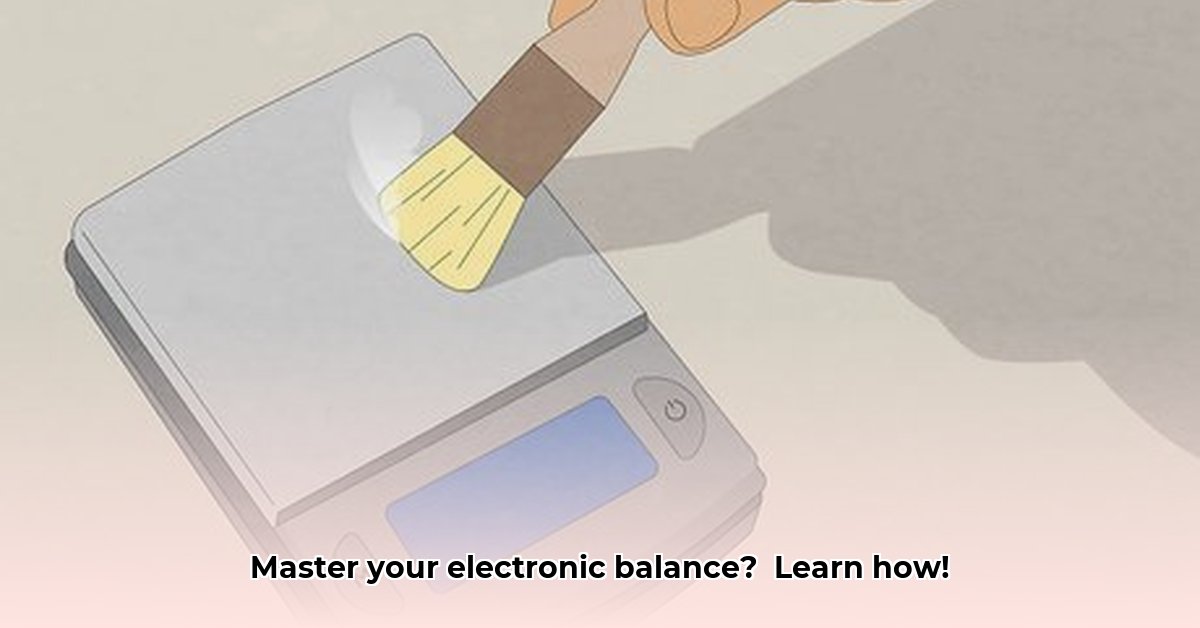
- A soft brush for cleaning the balance pan.
Step-by-Step Calibration Procedure
While specific steps may vary slightly depending on your balance model, the following general procedure applies. Always consult your balance's instruction manual for model-specific instructions and safety precautions.
Power Up and Stabilization: Turn on your electronic balance and allow sufficient time for it to warm up and stabilize. This warm-up period, typically indicated in the manufacturer's instructions, is crucial for accurate readings. (A typical warm-up time is 15-30 minutes, however, you should review your model's instructions specifically).
Initial Zeroing: With an empty weighing pan, press the "tare" or "zero" button until the display shows "0.0000" (or the equivalent for your balance's readability). This ensures a baseline of zero before calibration begins.
Weight Placement: Carefully place your first calibrated weight onto the balance pan. Use tweezers or gloves to avoid contaminating the weight.
Calibration Adjustment: Your balance will likely have a "calibrate" button or a menu option for initiating the calibration procedure. Follow your manual’s precise instructions to adjust the balance such that the display matches the nominal value of the weight.
Repeating the Process: Repeat steps 3 and 4 with your other calibrated weights, progressing incrementally. Multiple weights ensure the balance accurately measures across its range, providing a more comprehensive calibration.
Calibration Completion and Documentation: After calibrating with all the weights, record the date, time, weights used, and any observations (unusual readings, temperature fluctuations, etc.) in a dedicated logbook or electronic record. This detailed record is essential for tracking calibration history and troubleshooting.
Verification Test: Zero the balance and perform a final accuracy check by weighing a few weights not used during the calibration process. This verifies the calibration's successful implementation across a broader range of weights.
Calibration Methods: Internal vs. External
Most modern balances use either internal or external calibration methods:
- Internal Calibration: The balance performs self-calibration using internal mechanisms. (These usually involve a specialized procedure and may only require occasional verification with known weights).
- External Calibration: Requires manual adjustment using external calibrated weights as detailed in the preceding steps.
"External calibration offers more control and is often necessary for high precision applications," says Dr. Emily Carter, Metrologist at NIST.
Maintaining Balance Accuracy: Tips and Best Practices
Regular maintenance is crucial for prolonging the life and accuracy of your electronic balance.
- Cleaning: Regularly clean the weighing pan with a soft brush to remove dust and debris.
- Handling: Avoid dropping or mishandling your balance and weights. (This can lead to both damage and inaccurate weight readings).
- Environmental Conditions: Protect your balance from extreme temperatures, humidity, and vibrations.
"A well-maintained balance is essential for reliable measurements, which is why a routine cleaning and maintenance schedule is highly recommended," states Mark Olsen, Quality Control Manager at Acme Pharmaceuticals.
Creating a Calibration Schedule
The frequency of calibration depends on your balance's usage and the criticality of your measurements:
- High Usage/Critical Measurements: Monthly calibrations are recommended.
- Low Usage/Non-Critical Measurements: Calibrations every 3-6 months are often sufficient.
What are your specific measurement needs? Develop a calibration schedule that aligns with your laboratory's policies and regulatory requirements.
Troubleshooting Calibration Issues
If your balance remains inaccurate after calibration, troubleshoot potential issues:
- Check the power supply.
- Review the balance's instruction manual for troubleshooting tips.
- Contact the manufacturer for service or repair if necessary.
This comprehensive guide provides a structured approach to electronic balance calibration. Remember to always prioritize the safety precautions and specific instructions detailed in your balance's instruction manual. Consistent calibration is your key to maintaining accurate and reliable measurement results.